Story Management
Create a Story From a Template
- Click Templates in the main site navigation.
- Browse the list and find one that suits your goal.
- Choose a template.
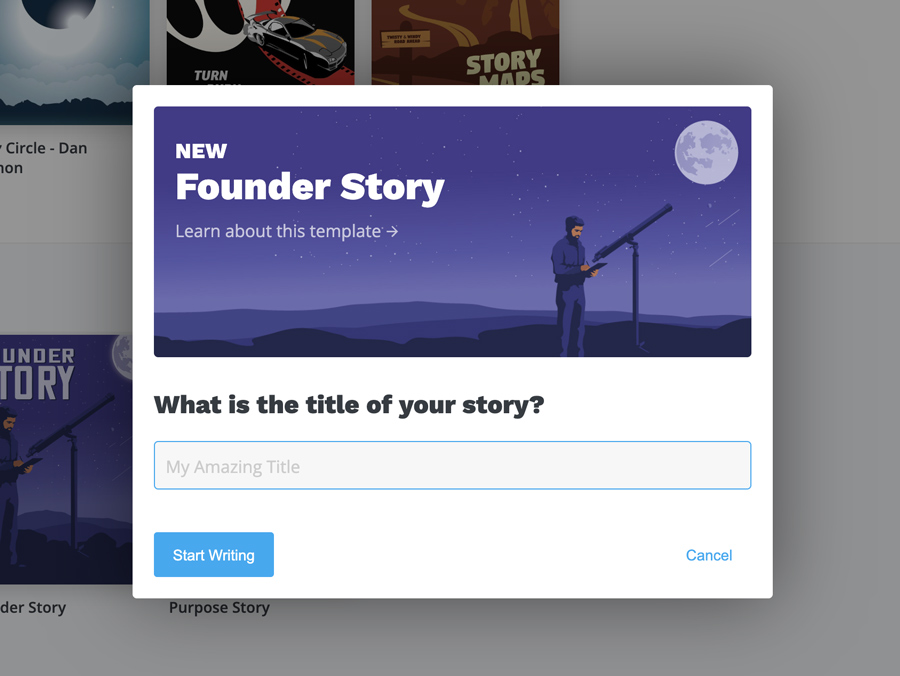
- Enter a title for your story and click Start Writing.
💡 Note
If you're not sure why you would choose one template over the other, click the Learn More button under the thumbnail to visit the template's main info page. From there, you can click Start Writing if you'd like to continue with that template, or navigate back to the main list.
Copy a Story
There are two places you can accomplish this. You can open the dropdown menu on a story item in My Stories, or open the Actions Menu from inside the story.
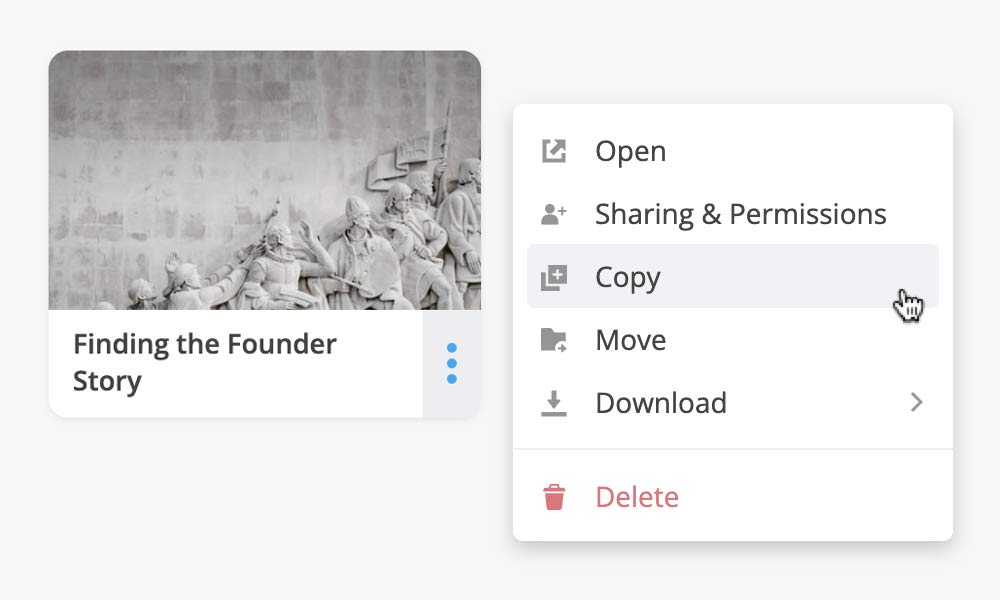
When the menu appears:
- Click Copy to open the window.
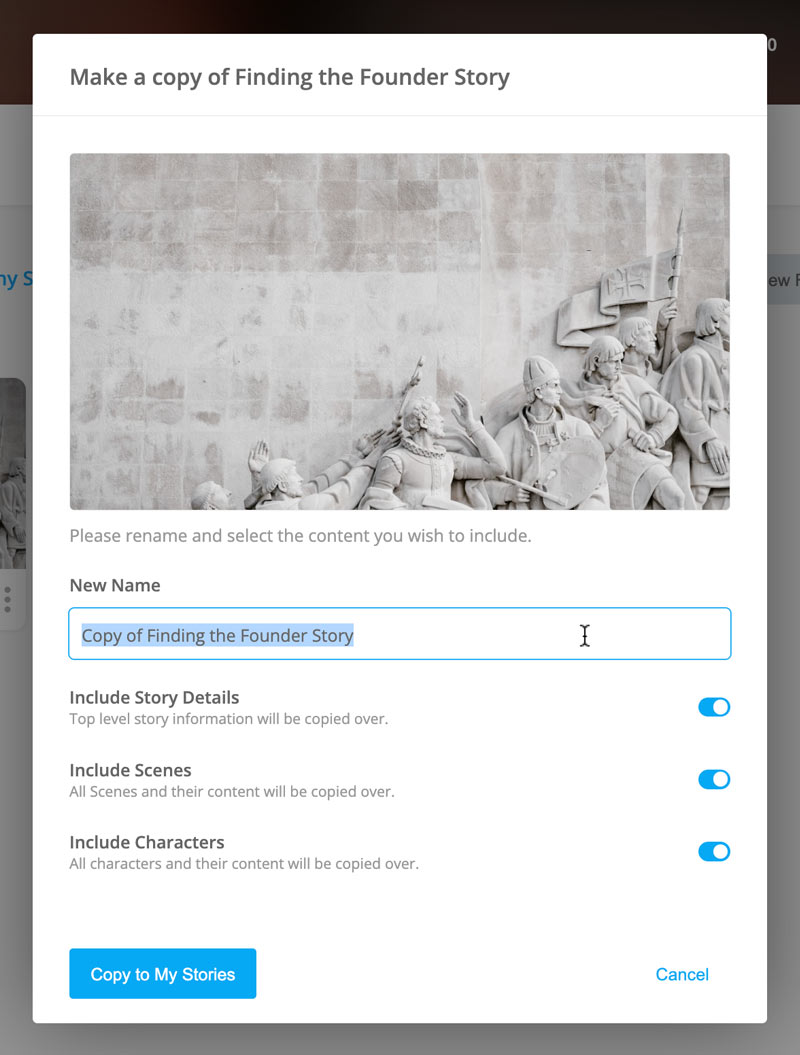
- Give your copy a new name.
- Choose the content you'd like to include in the copy. You can include all Story Details, Characters and Scenes if you'd like. Turn off all three to create a blank copy of the story.
- Click Copy to My Stories. The button may also specify which folder you are copying to.
Your copy will open immediately in the Story View.
💡 Note
If you do not see the Copy option in the story's dropdown menu, you either don't have permission to copy it, or it has not been set as copyable.
Copy a Library Story
- Click Library in the main site navigation.
- Hover over a story and click the Copy Icon in the top right.

- Choose the content you'd like to include in the copy. You can include any and all Story Details, Characters and Scenes if you'd like. Uncheck all three to create a blank copy of the story.
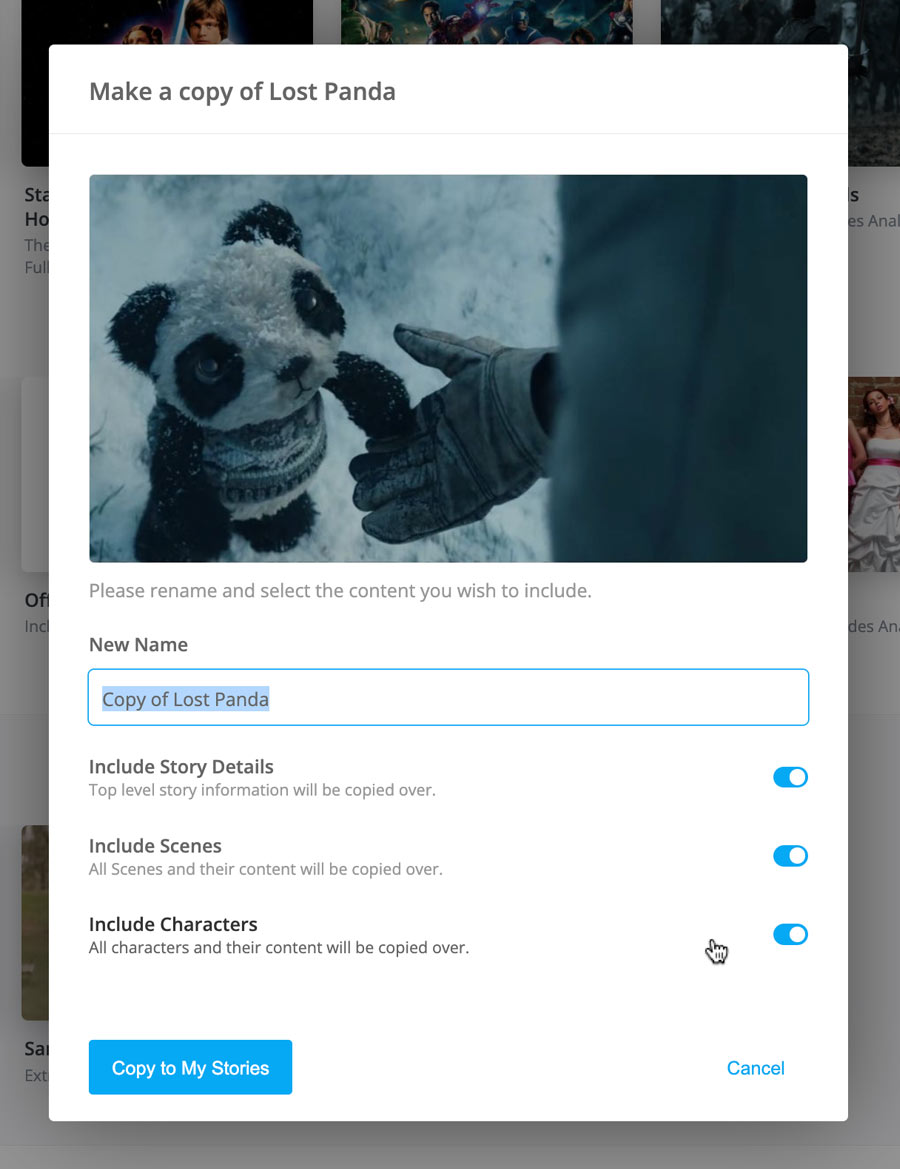
- Click Copy to My Stories.
💡 Note
You can do the same thing from inside a Library story by clicking the dropdown in the top menu.
Import a Screenplay
- Click Home in the main site navigation.
- Go to the My Stories tab.
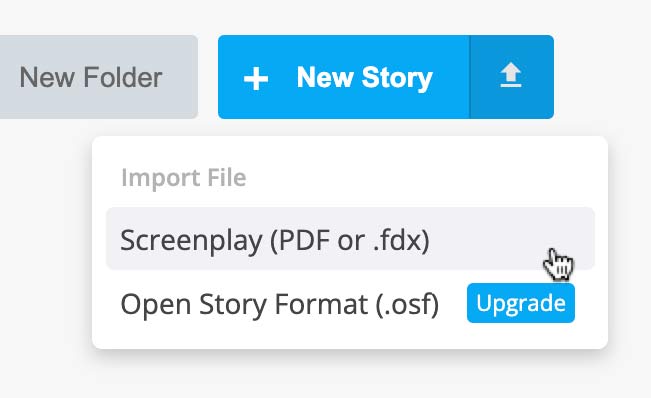
- Click the Import Icon to the right of the + New Story Button, and choose Screenplay (PDF or .fdx) from the dropdown.
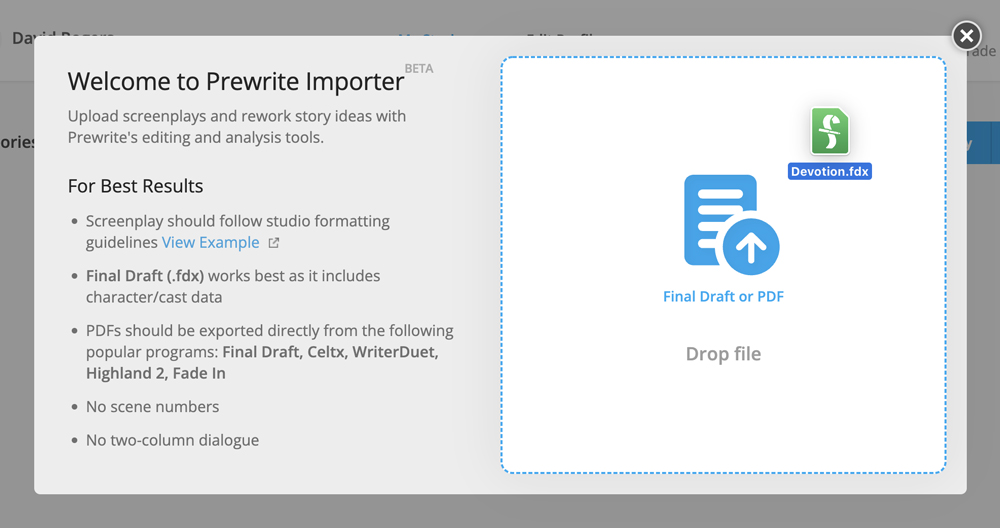
- Drag a PDF or .fdx file into the drop zone, or browse your system files. Prewrite will parse the document, find all of your scenes and characters, and open the script in an environment that allows you to add some initial content.
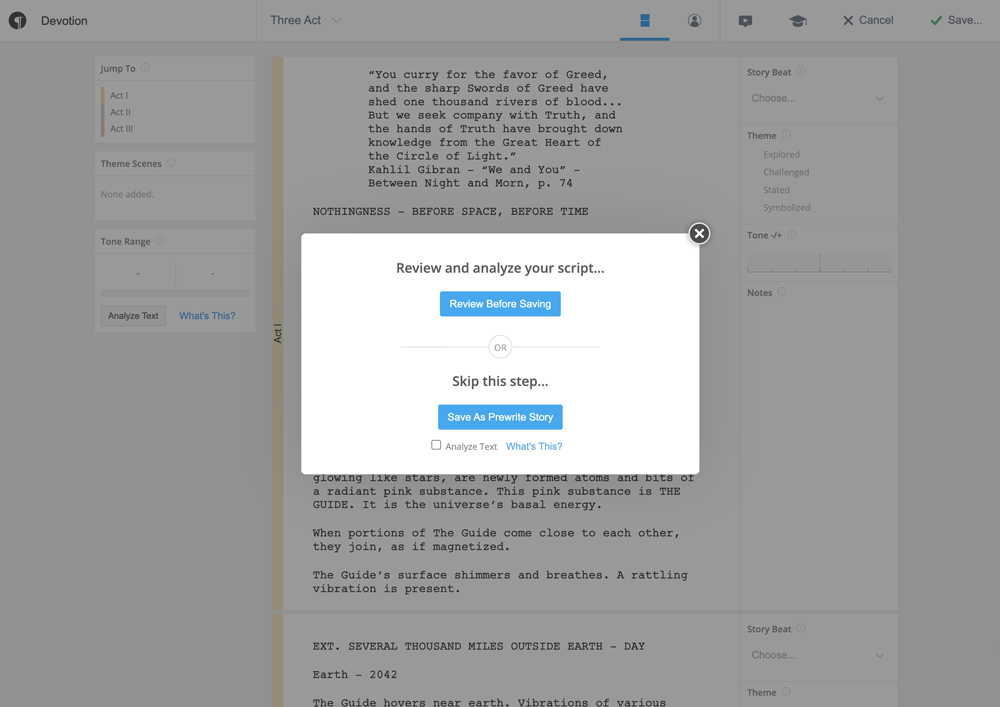
- Choose Review Before Saving if you want to modify your story before saving it as a Prewrite story, or click Save As Prewrite Story to continue on to the Story View.
💡 Note
Everything you do to your story in this view can be accomplished in the main Prewrite editing environment (in a different manner) after your import is complete.
Share a Story Publicly
All stories are private by default, but you can make them Shareable. Once Shareable, anyone with the share link can view the story.
- Click Sharing & Permissions in the story's Actions Menu.
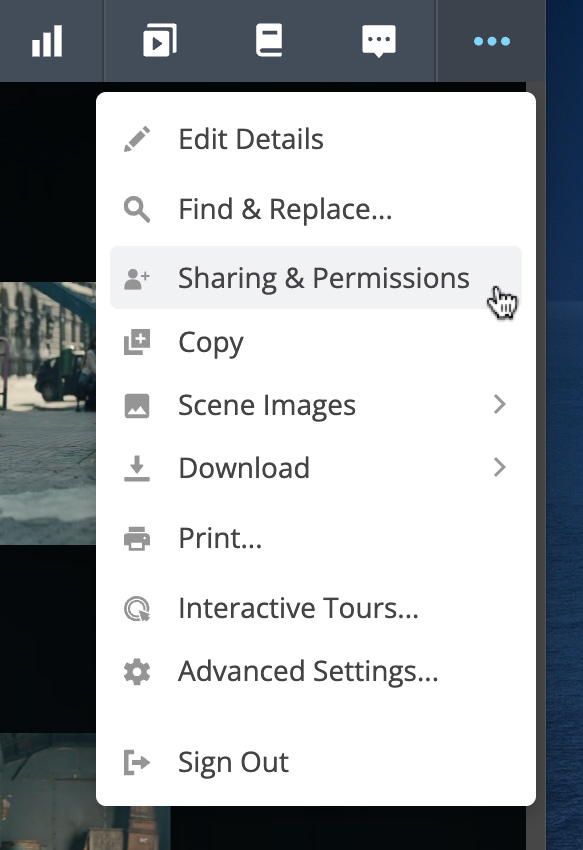
- Turn on the Make Shareable option. This will present more options that we'll cover later.
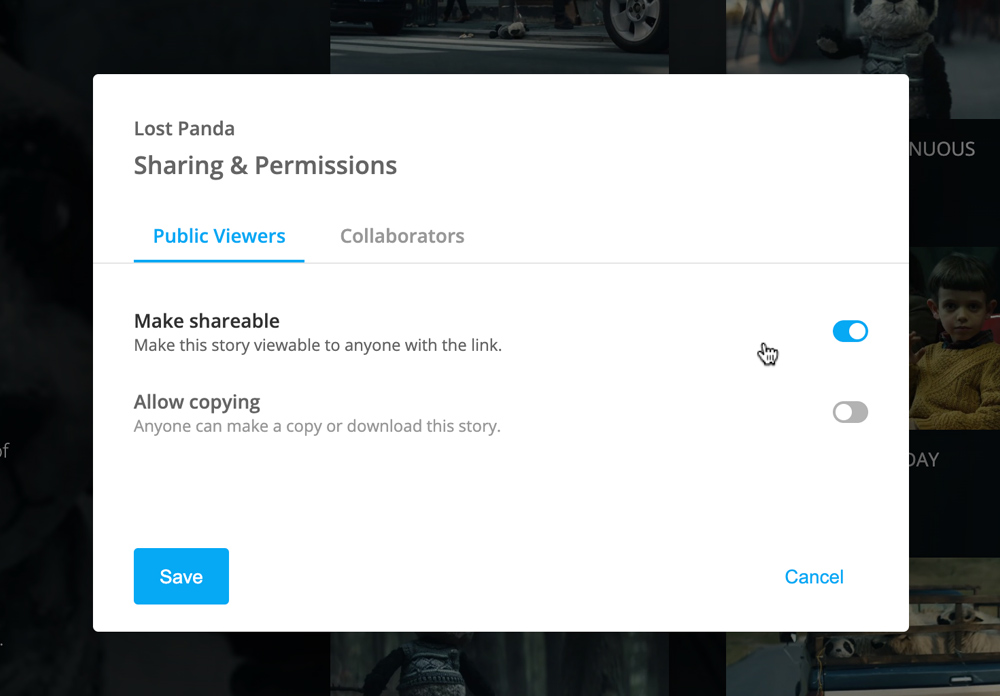
- Click Save.
Once a story is Shareable, you'll have a number of options for doing so. You can get to these options in a few different places:
- Open the Sharing & Permissions window. If your story is Shareable, there will be a Share tab you can access.
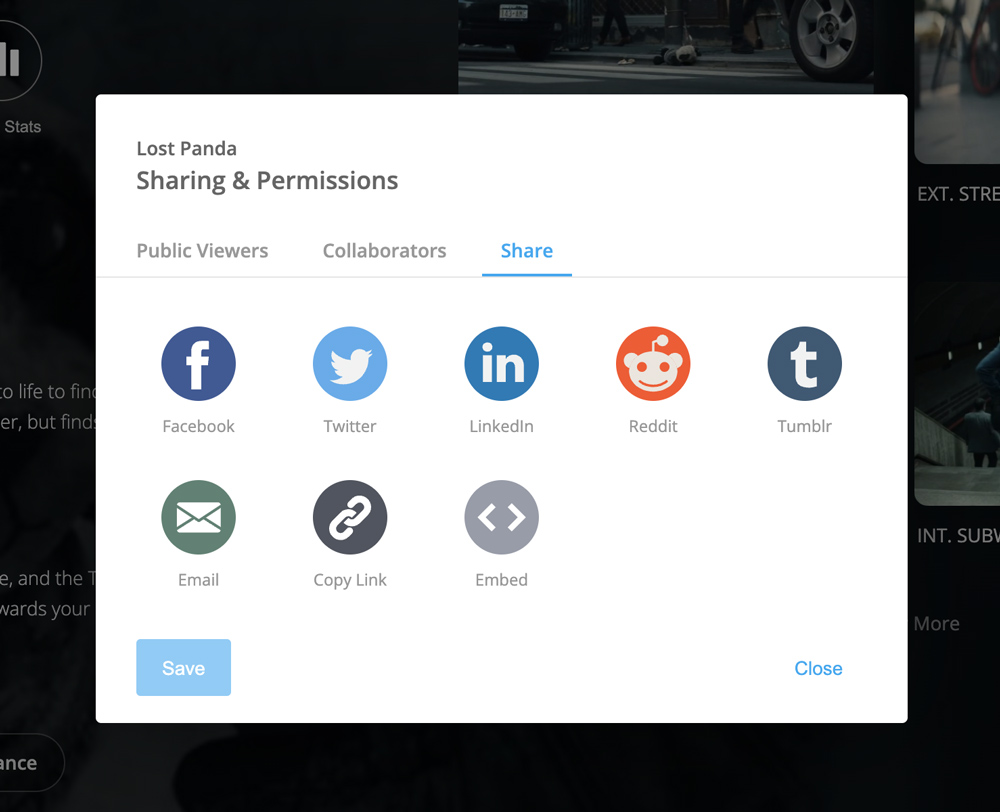
- Go to the story's Home view, you should see a Share Button that, when clicked, will reveal an array of sharing options.
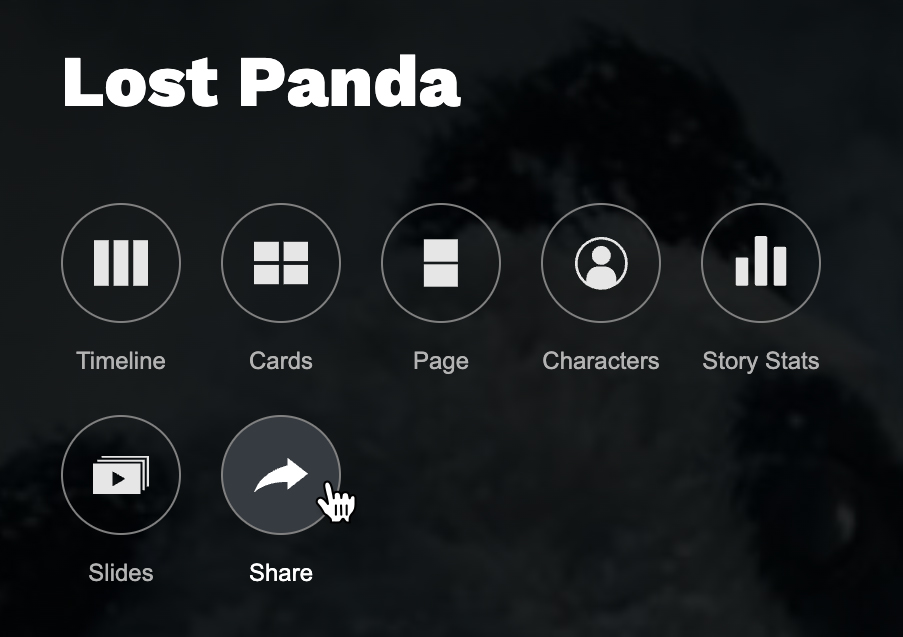
- If you're viewing someone else's sharable story, there will also be a Share option in the story's Actions Menu.
Share a Story with Collaborators
- Click Sharing & Permissions in the story's Actions Menu.
- Go to the Collaborators tab.
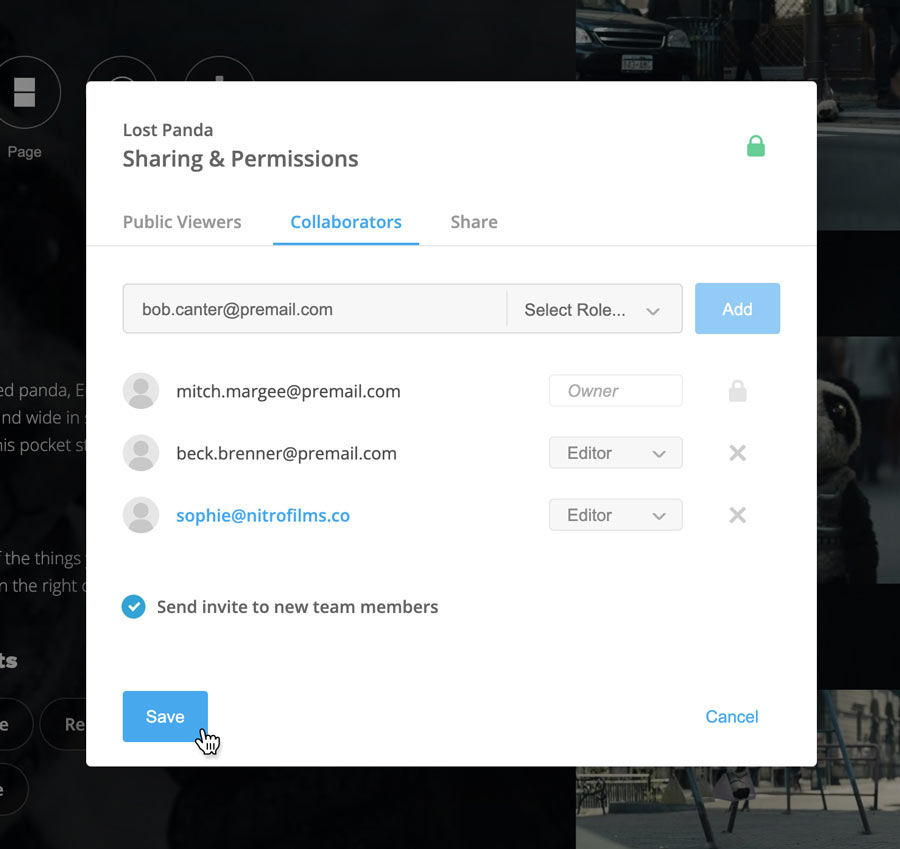
- Enter a valid email address.
- Click Select Role... and choose Viewer or Editor.
- Click Add.
- Repeat this process for all collaborators you wish to include.
- Set Send invite to new team members to on or off.
- Click Save.
Once invited, collaborators will be able to open the story, even in a non-shareable state. Those with editing privileges will be able to edit it if no one else is currently doing so.
Request Control to Edit a Shared Story
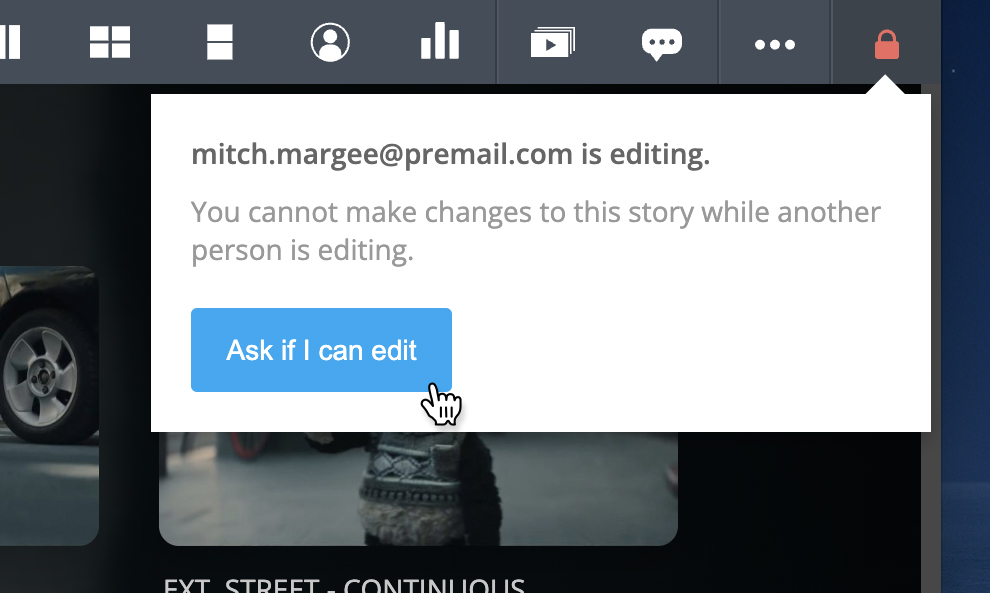
If a known collaborator is editing a story while you have it open, you should see a red Lock Icon in the top right corner.
- Click on the Lock Icon to request control. If they release it, you will be able to start editing.
Organize Stories into Folders
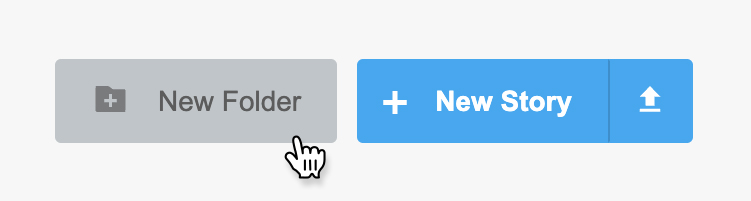
- If you don't have any folders in your My Stories section, click New Folder and give it a name.
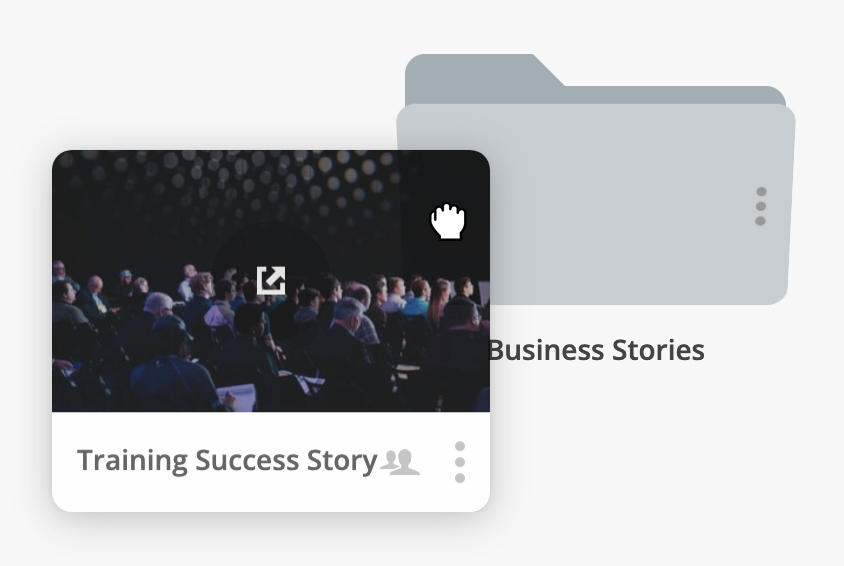
- To move a story into a folder, simply drag it onto the folder.
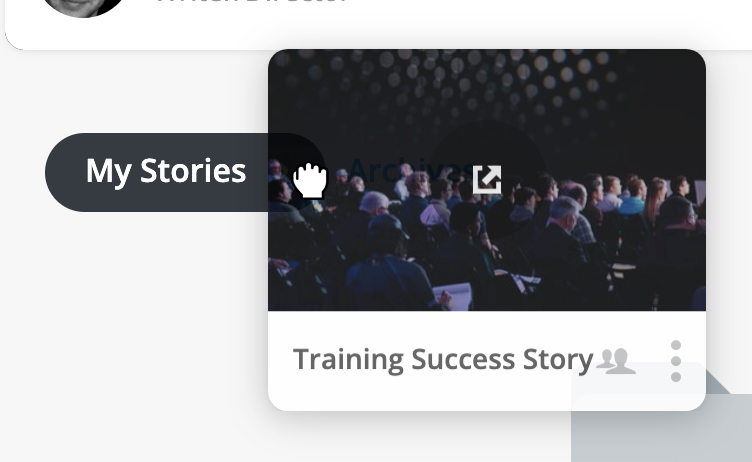
- To move a story out of a folder, drag it onto an item in the breadcrumb hierarchy.
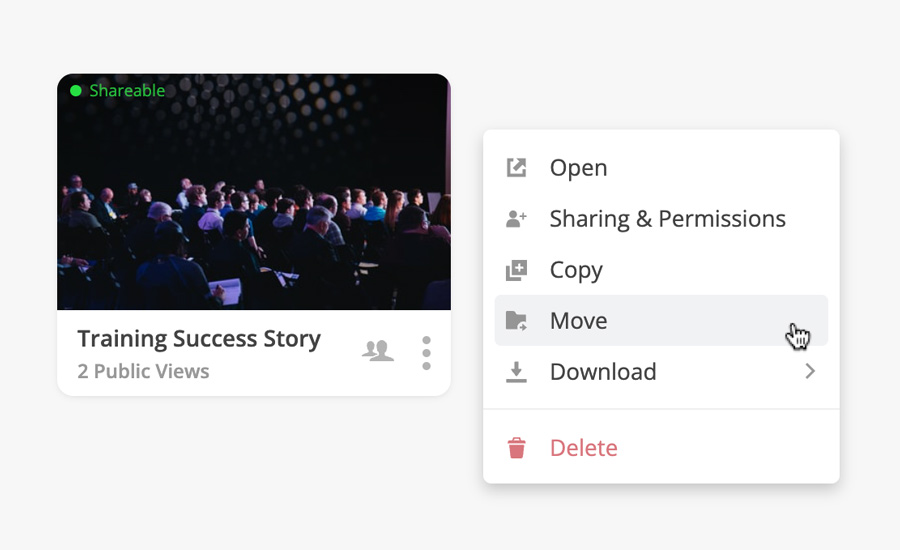
- You can also select Move from the story's main dropdown to select a new destination within the hierarchy.
💡 Note
When adding stories to folders, you may see a warning that the story will inherit the permissions of the destination folder. This is because other users have been granted access to the folder. Keep this in mind when organizing, because you could unintentionally change collaborator permissions.
Share a Folder with Collaborators
- Click Sharing & Permissions in the folder's dropdown menu.
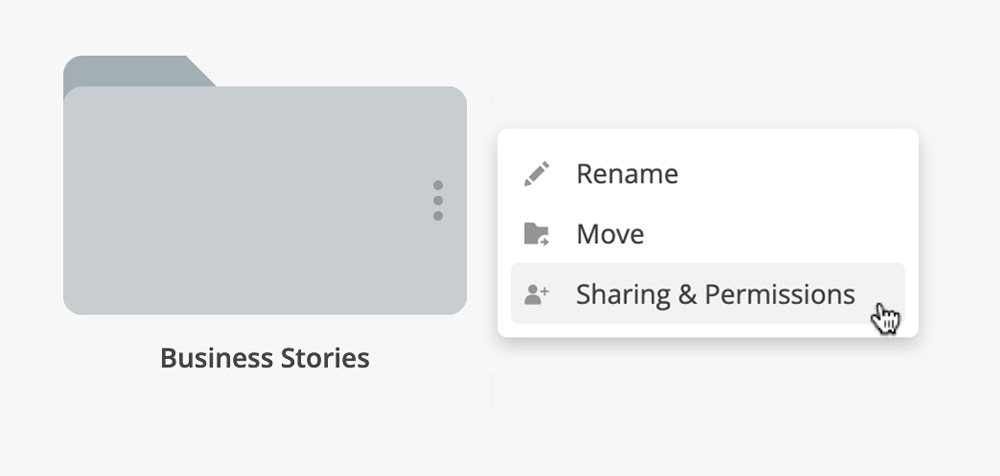
- Enter a valid email address. Click Select Role... and choose Viewer or Editor.
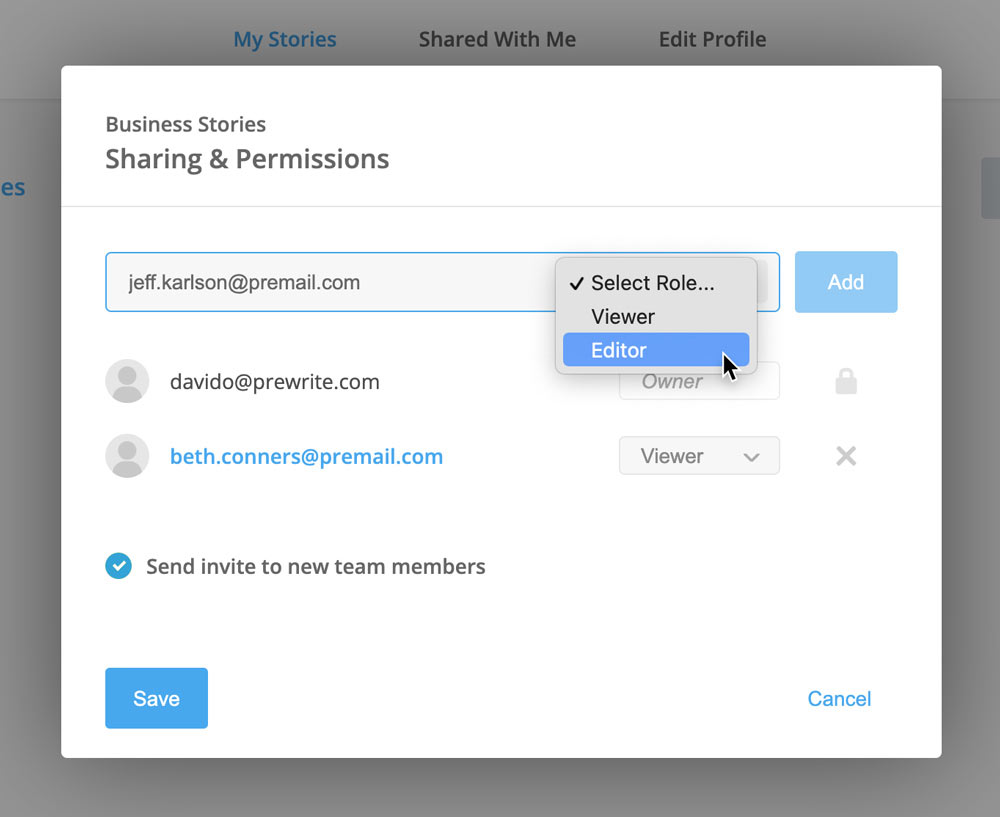
- Click Add.
- Repeat this process for all collaborators you wish to include.
- Set Send invite to new team members to on or off.
- Click Save.
Make a Story Copyable
You can accomplish this in the My Stories view, or from inside a story in the Actions Menu.
- Click Sharing & Permissions in the story's dropdown menu.
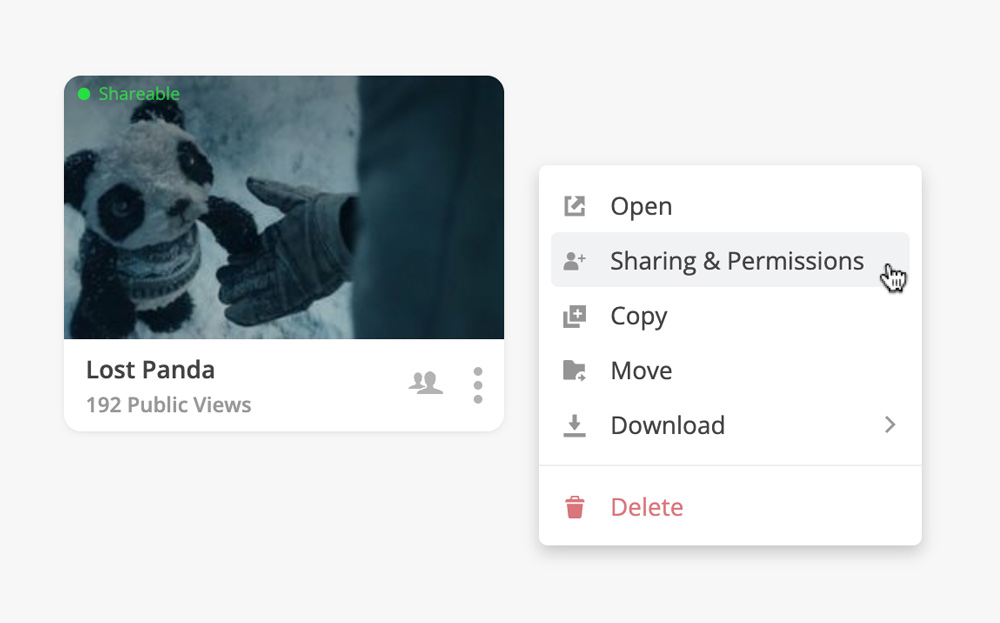
- If set to off, turn on Make Shareable to reveal more options.
- Turn on Allow copying.

- Click Save.
Update Presentation Settings
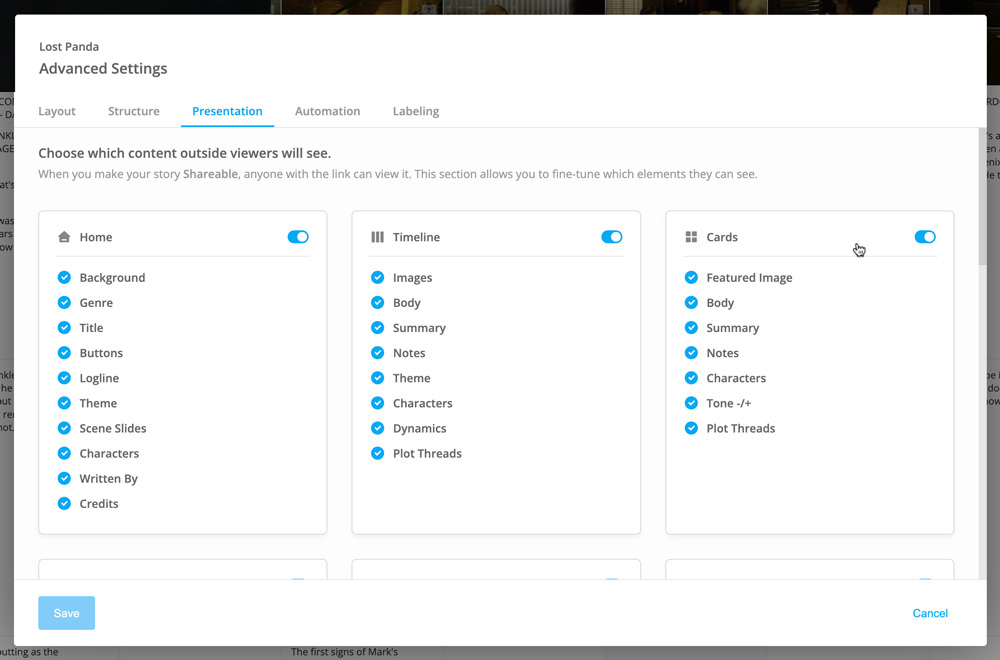
In the event that you'd like to hide specific story elements or views from outside viewers, you can set custom filters on just about anything.
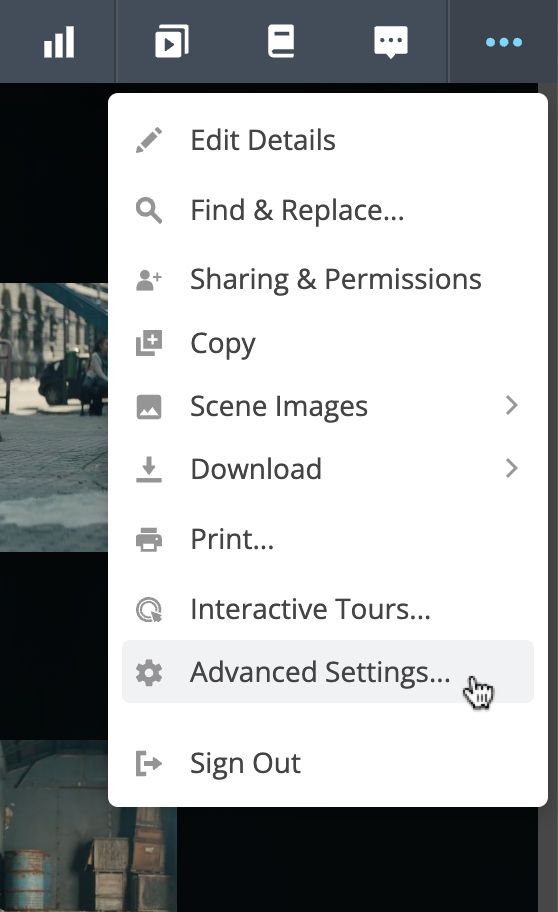
- Open your story and from the top Actions Menu, open Advanced Settings...
- Open the Presentation tab and toggle the items you wish to show or hide.
- Click Save.
💡 Note
Currently you cannot turn off the Slideshow view as it is Prewrite's primary presentation method. However, just like the other views, you can toggle every item that appears inside of it.
Download a Story
To download your story in any of the following formats, simply open the dropdown menu, click Download and choose one from the submenu. Keep reading to learn about the advantages of each.
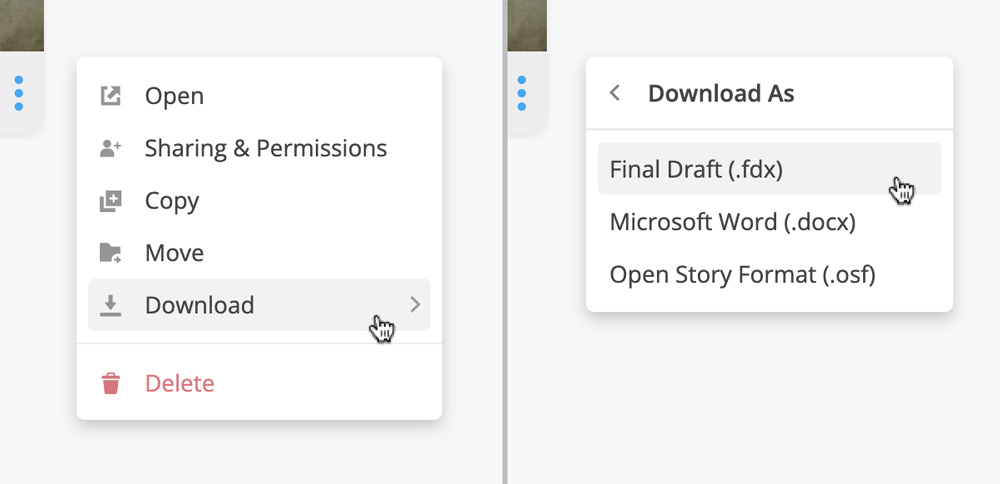
Final Draft (.fdx)
This is an excellent option for any writing program that imports .fdx files. When destined for Final Draft, it will convert all scene Summary content and Notes to the Final Draft Summary and Script Note data.
Open Story Format (.osf)
This is a great option if you'd like to archive your Prewrite stories, including all images, and reupload them at a later date. We invented the .osf platform to encourage tighter integration with other story-related platforms.
Word (.docx)
This is an excellent option if you need the text content of your story exported to text with proper formatting. It's also the fastest way to convert your story to a PDF using your computer's own print functionality.