Scenes
Add a New Scene
There are three views where you can add a new scene to your story -- the Timeline, the Edit Window and the Page Editor.
In the Timeline
If you are in an empty story, you can add a scene to any act by clicking on its empty state. This will open the Edit Window.
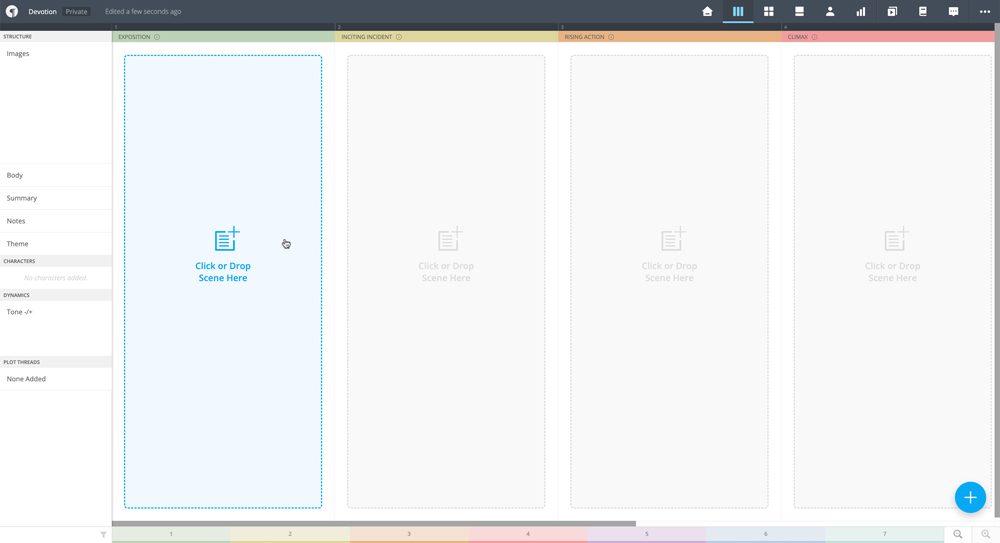
Or you can drag a new scene from the + Drag New button in the bottom right corner of the Timeline view. This method works the same whether the story is empty or full.
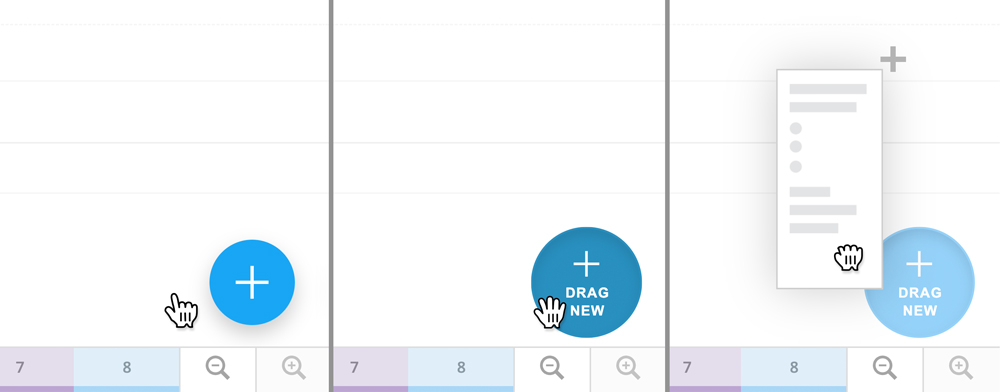
If you want to add a new scene to a specific location, drag a new scene from the + Drag New button to the desired place in your story.
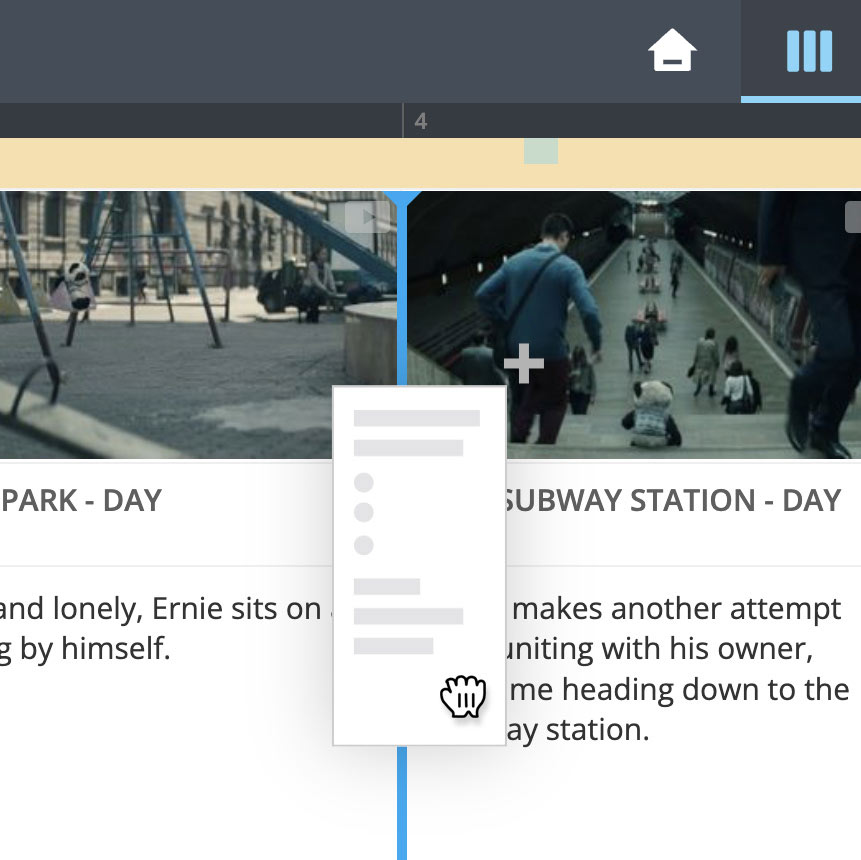
A blue Drop Indicator will show where the scene will land.
If you're dragging to a spot directly between two acts, you can move your mouse slightly to the left or right to determine which act it will be added to.
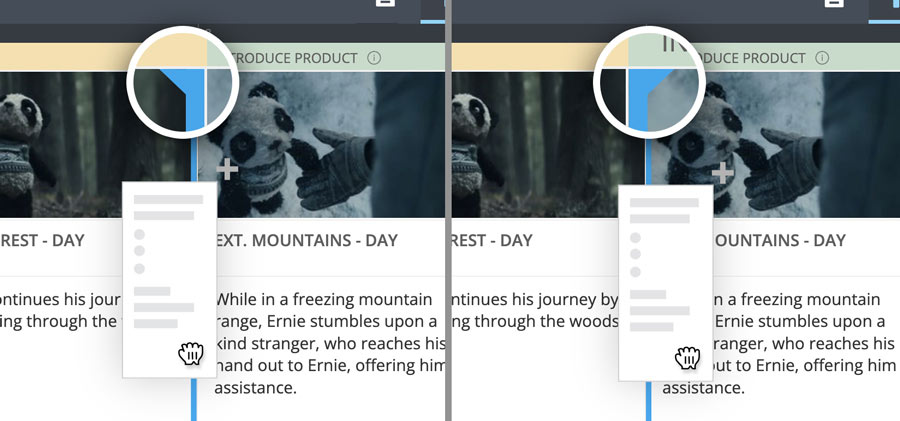
When you drop the new scene into place, the Edit Window will open immediately.
In the Edit Window
If you're editing a scene, and would like to add another directly before or after, open the Actions Menu in the header.
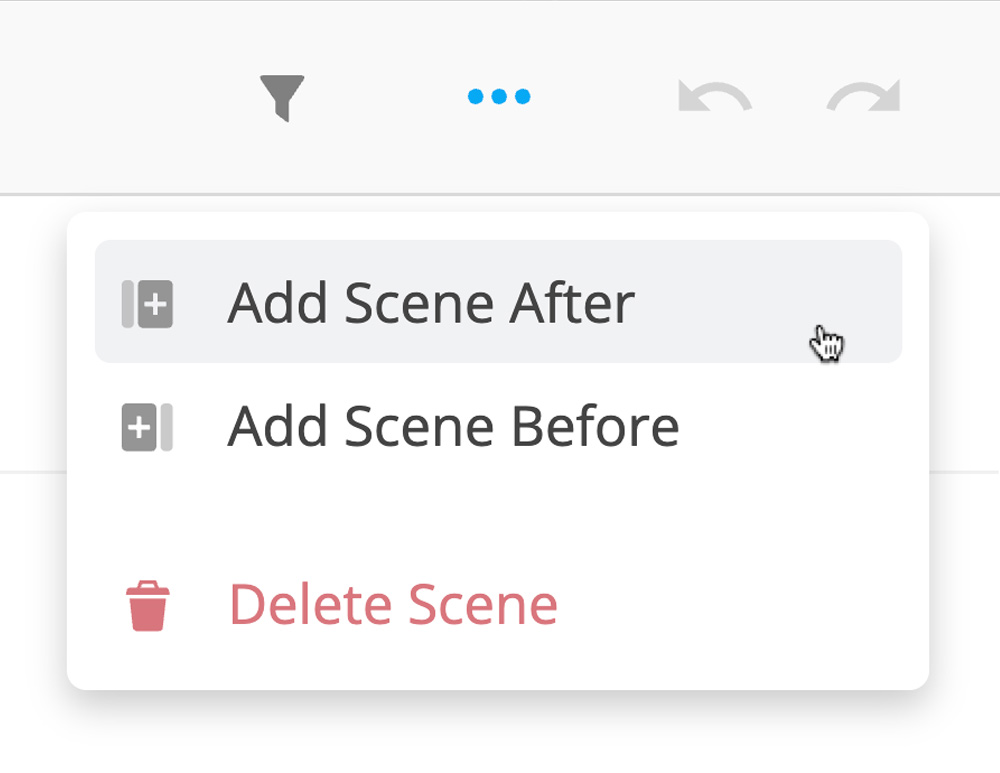
Then choose Insert Scene After or Insert Scene Before. A new scene will be inserted and navigated to for immediate editing.
💡 Note
When adding a new scene in the Editor, it will always be added to the act you are currently in. This can of course be fixed with a quick drag and drop in the Timeline view.
In the Page Editor
The Page Editor is a unique view that allows you to write your scenes in a more traditional screenwriting format.
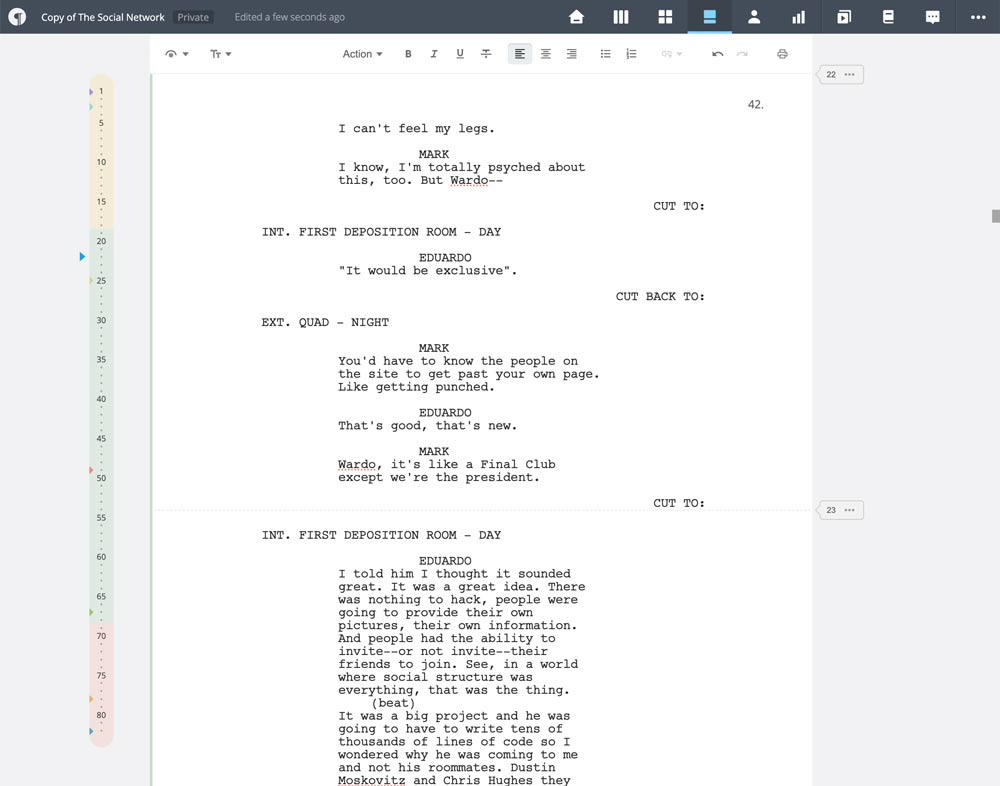
The Page Editor offers a number of unique ways to add scenes:
1. When Typing a Scene Heading
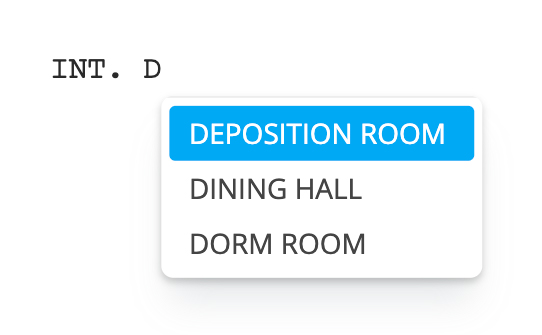
Prewrite will attempt to guess when a new Scene Heading signifies the start of a new scene and automatically add a new one. Simply type a new Scene Heading. When you hit Enter, a new Scene Break will be added just above the new Scene Heading.
2. By Inserting a Scene Break
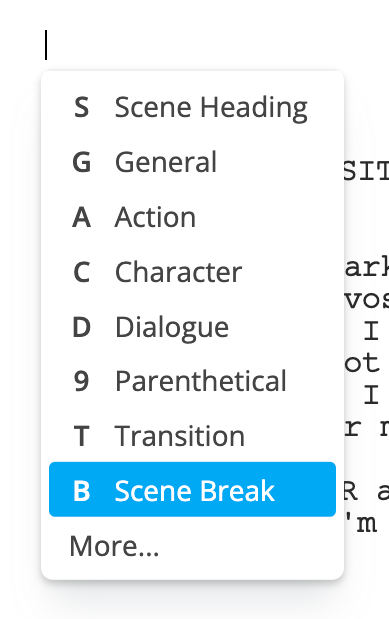
When you hit Enter on an empty line, a smart menu will appear with an option to create a page break. You can also hit Cmd + Return on a Mac or Ctrl + Enter on PC to invoke the same menu if there is text on the line.
3. Using the Scene Dropdown
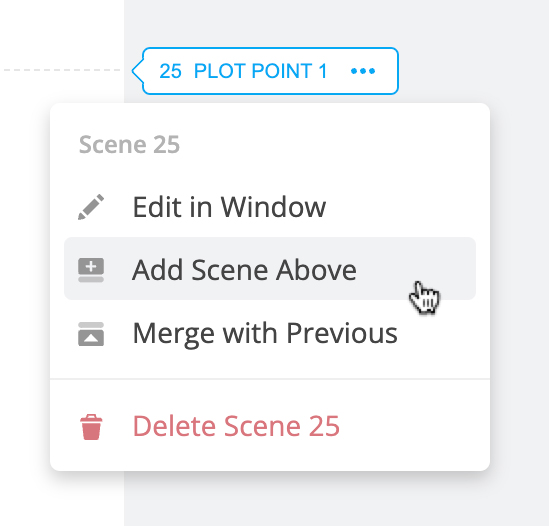
Next to each scene there is a button with some menu options. You can open the menu and select Add Scene Above.
Move a Scene
If you want to move a scene to a different part of your story, you can only do so in the Timeline view:
- Open the Timeline view.
- Click and drag any scene and move it where you'd like.
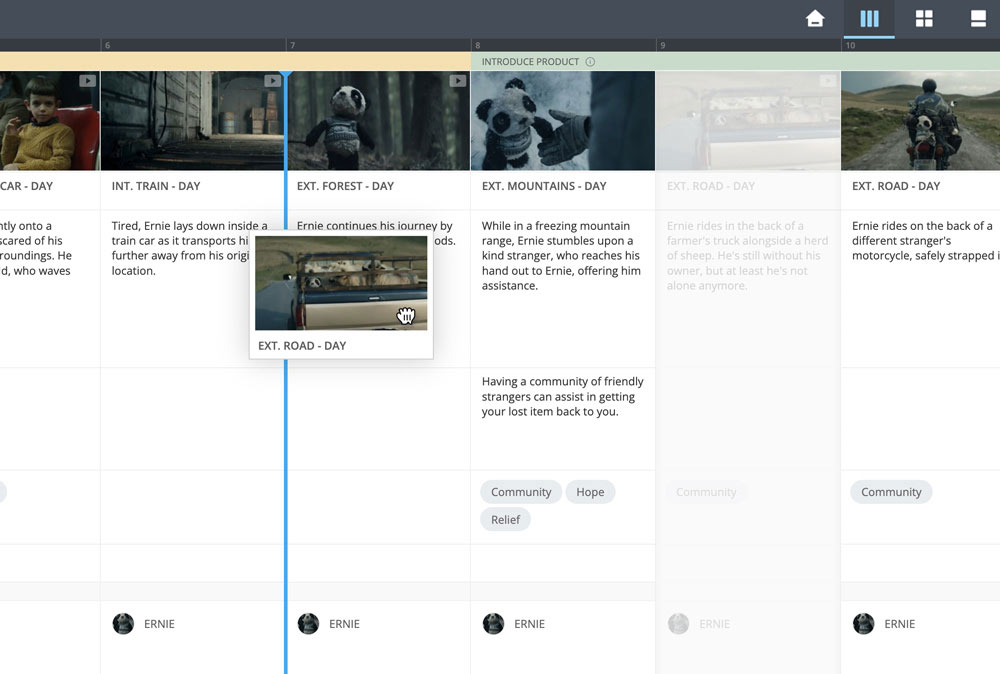
A blue Drop Indicator will show where the scene will land on drop.
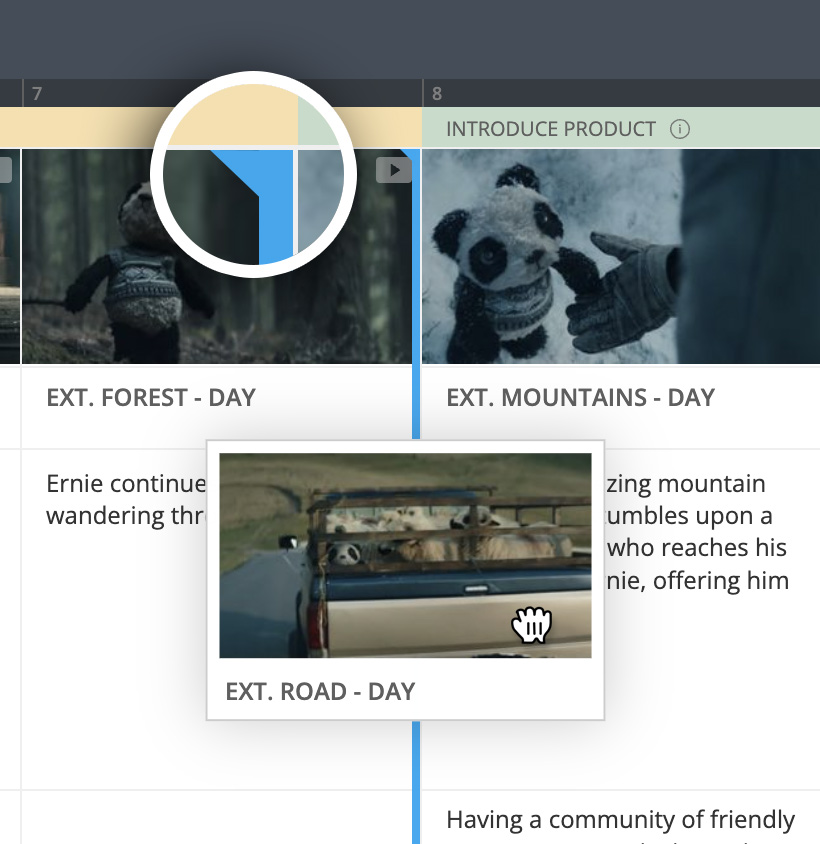
If you're moving a scene to a spot directly between two acts, you can drag slightly to the left or right to determine which act it will land in. The Drop Indicator will move to the nearest act.
Edit Scene Content
You can open a scene to edit its content from almost any view. For the Timeline, Cards and Page views, you simply click on the scene to open it in the Edit Window.
In the Home view, you can click on any scene in the Slides Gallery to edit the scene's content.
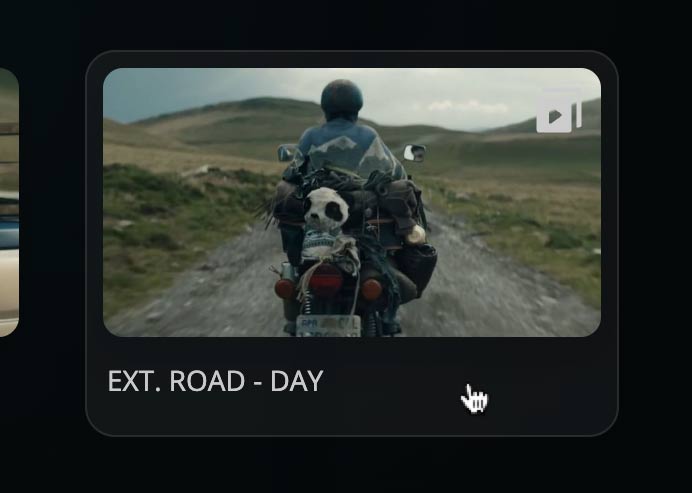
Add Scene Images
- Click a scene to open it in the Edit Window.
- Scroll to the Images section and click the + Add button.
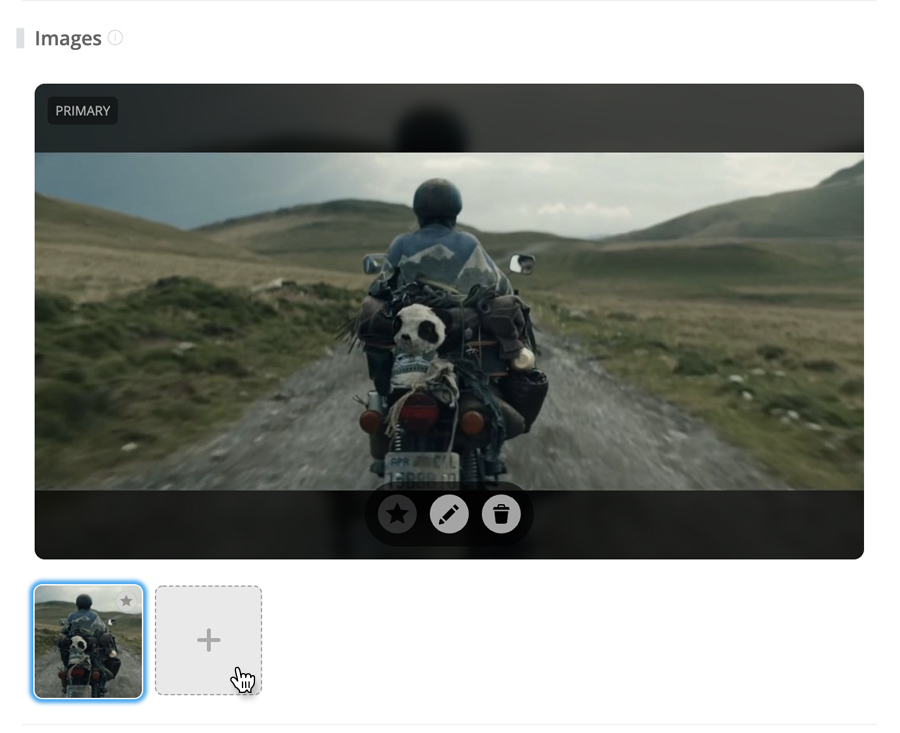
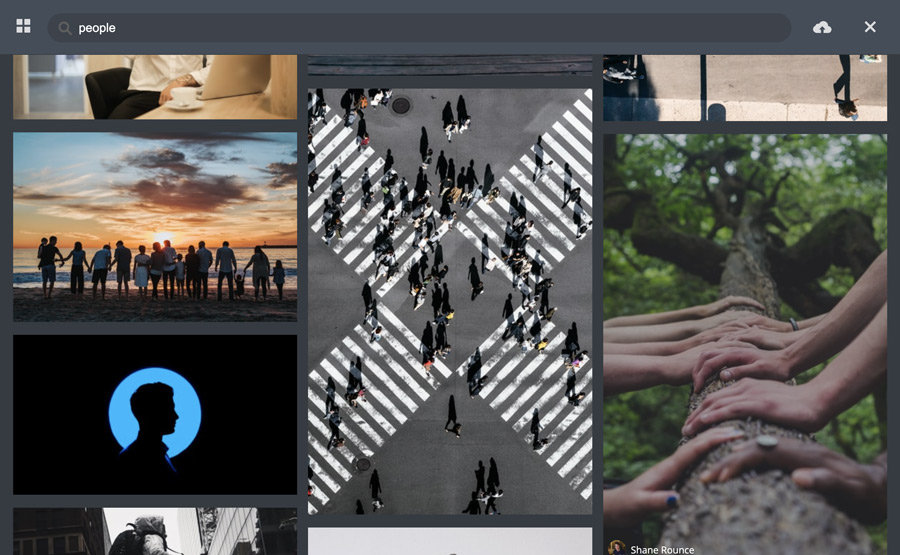
- This will open a new window where you can search for commercial-free images via Unsplash, upload your own, or reuse ones you've already added.
- Once you've made your selection, you will be returned to the images section where you can set the new image as Primary by clicking the Star Icon in the image preview.

This will make it the main image that represents the scene throughout the app, including the Slideshow.
Add Text Formats
Each template uses a custom combination of text formats. You can mix and match these formats to suit your specific needs. You can perform the following steps in either the Page Editor or the Edit Window. We'll walk through the Edit Window as it includes one extra step:
- Click a scene to open it in the Edit Window.
- Scroll to the Body section (sometimes labeled Script or Content).
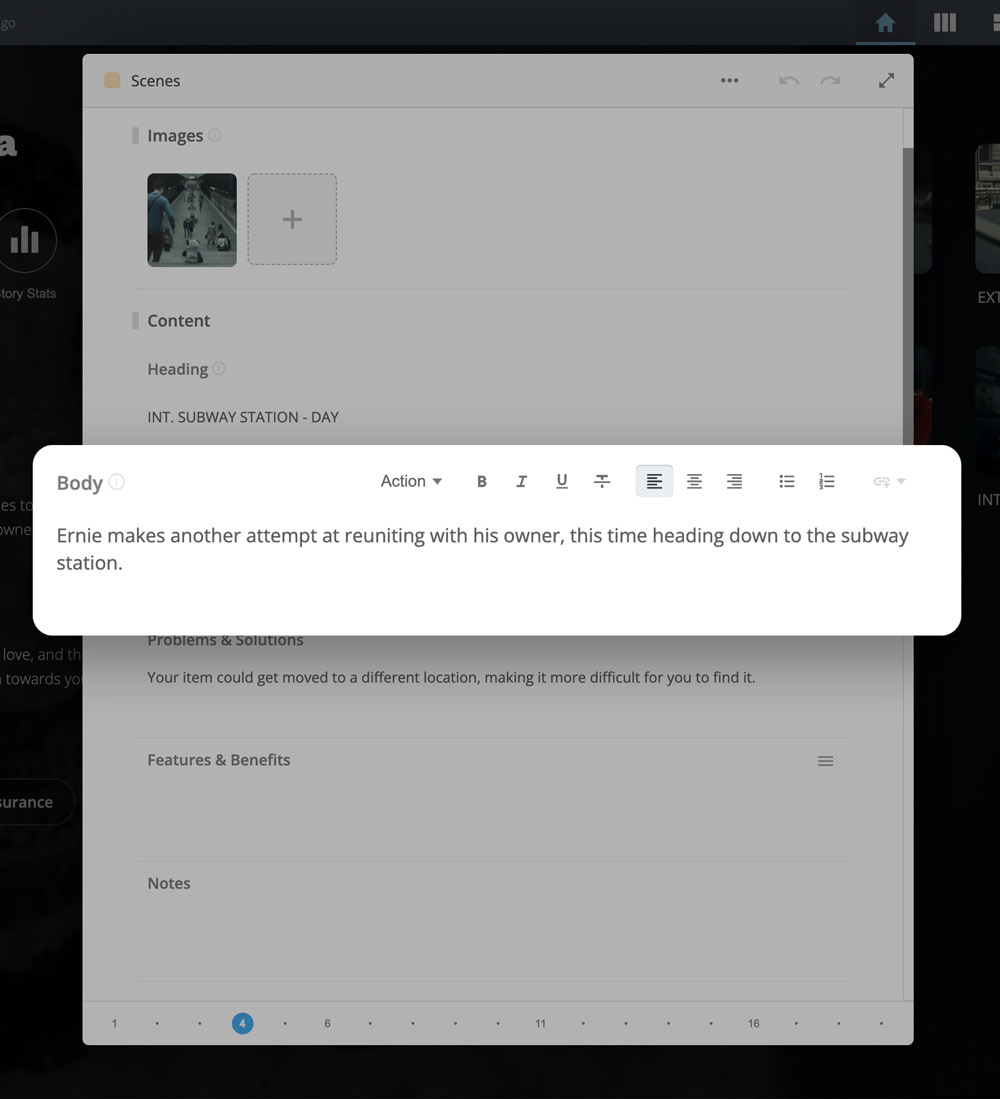
- Open the Text Format Menu and select More...
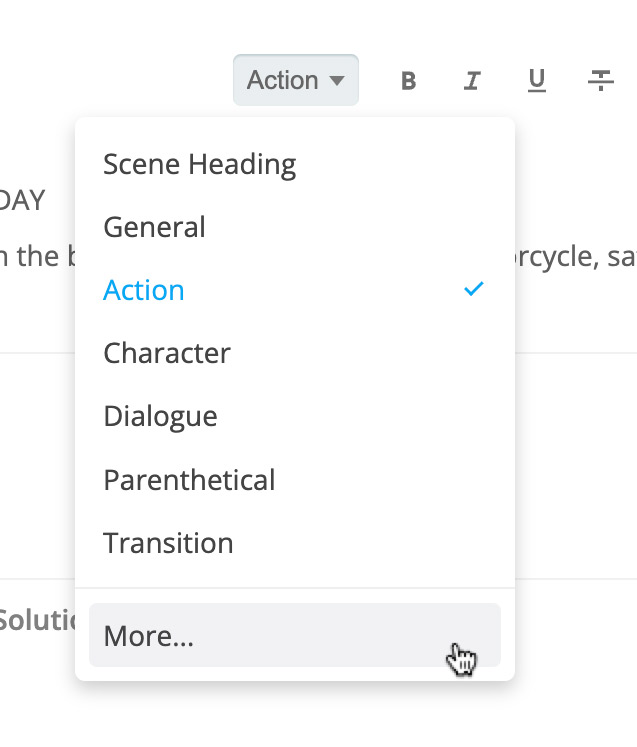
- Select from the list of available text formats.
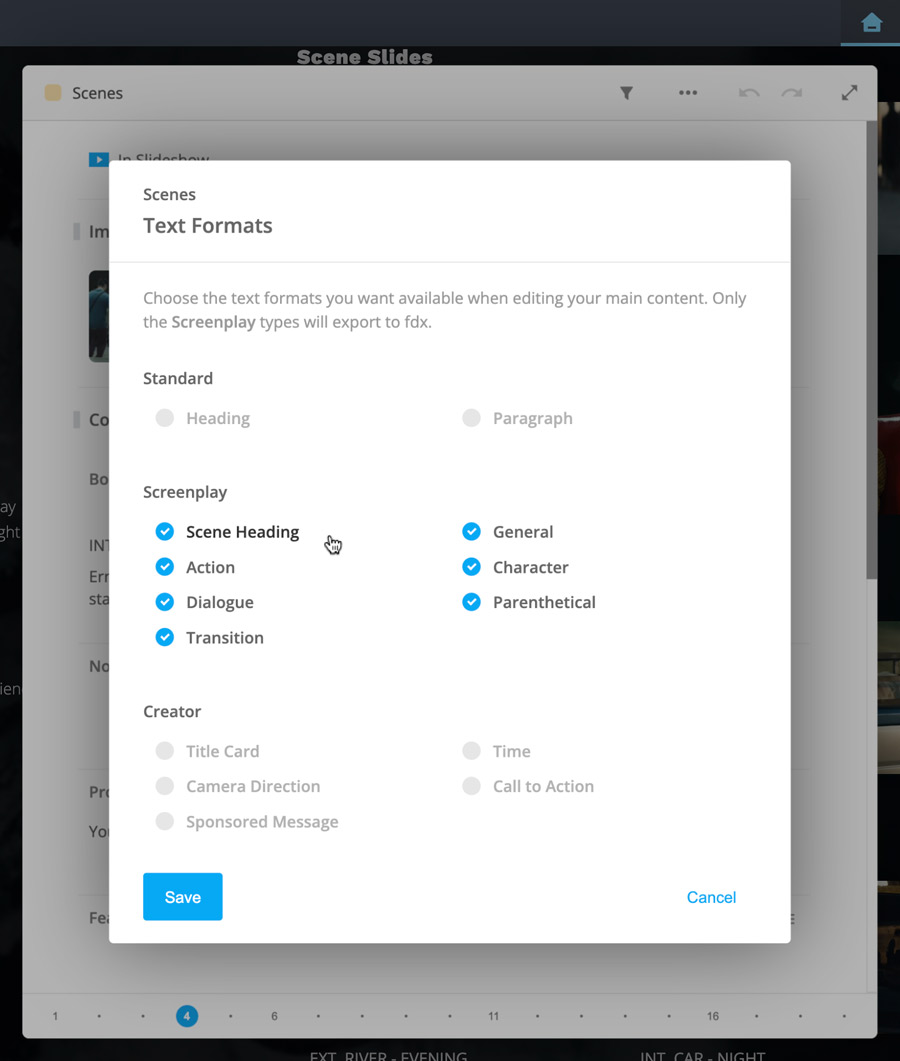
- Click Save.
Add a Plot Thread
- Click a scene to open it in the Edit Window.
- Scroll to the Plot Threads section. You'll see a text field prompting you to Enter new plot thread name... or, if you already have plot threads, Find or create a plot thread...
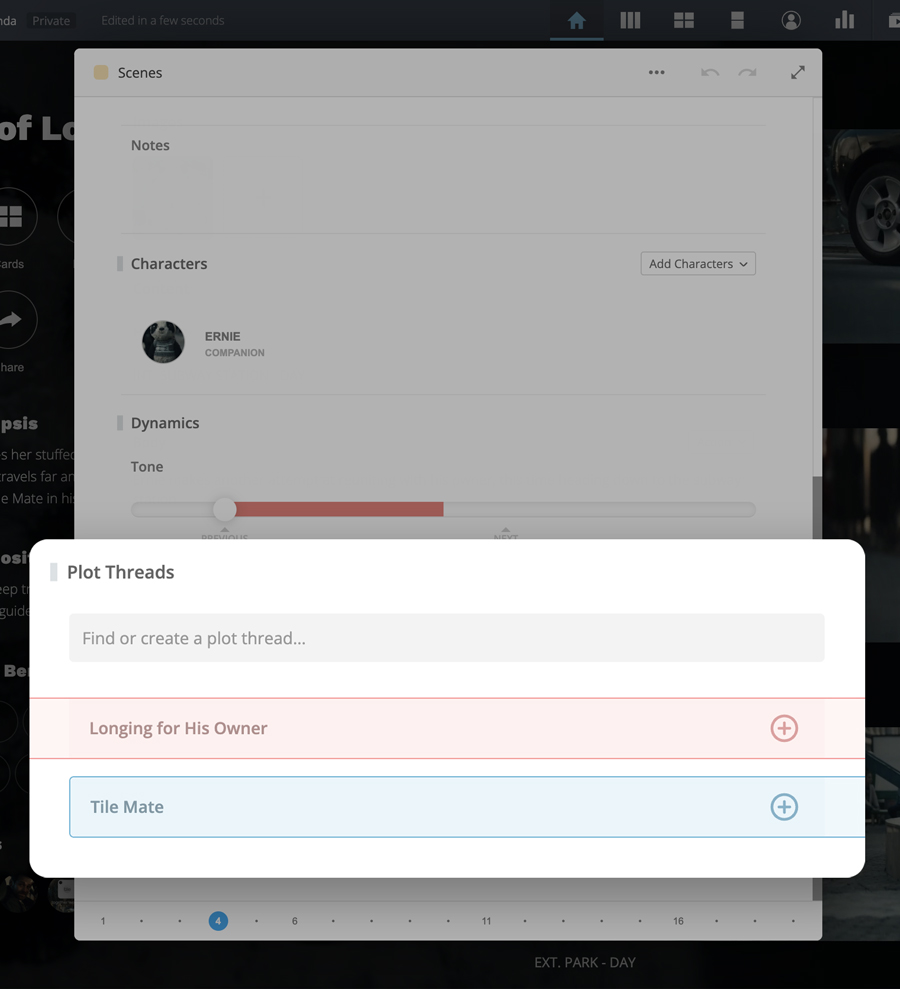
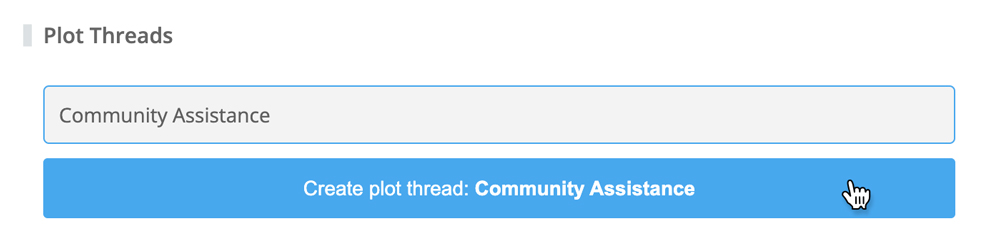
- Enter a name and click Create plot thread.
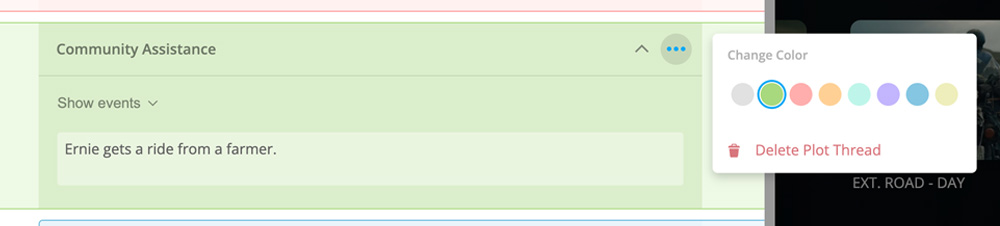
- Once added, you can update the name, color, and add a story event.
Add a Story Event to a Plot Thread
- Click a scene to open it in the Edit Window.
- Scroll to the Plot Threads section and find the Plot Thread you'd like to add to.
- Click on it to expand it.
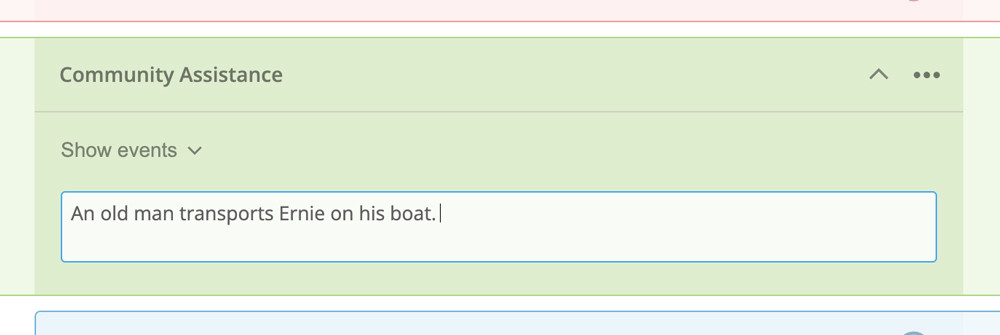
- Enter some text describing the event in the text area.
To remove a Story Event from a Plot Thread, simply delete the text.
Delete a Plot Thread
- Click a scene to open it in the Edit Window.
- Scroll to the Plot Threads section and find the Plot Thread you'd like to delete.
- Click on it to expand it.
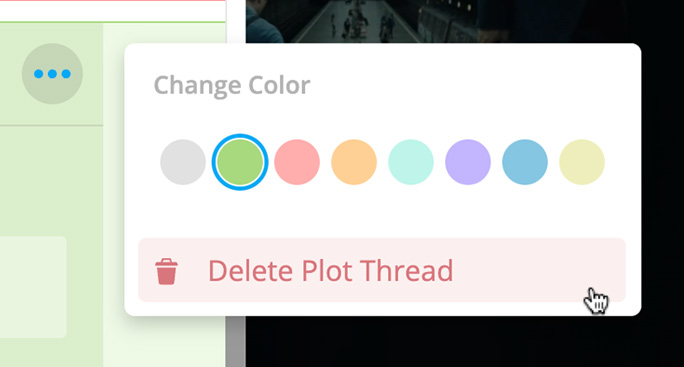
- Open the dropdown menu and click Delete Plot Thread.
Delete a Scene
- Click the scene to open it in the Edit Window.
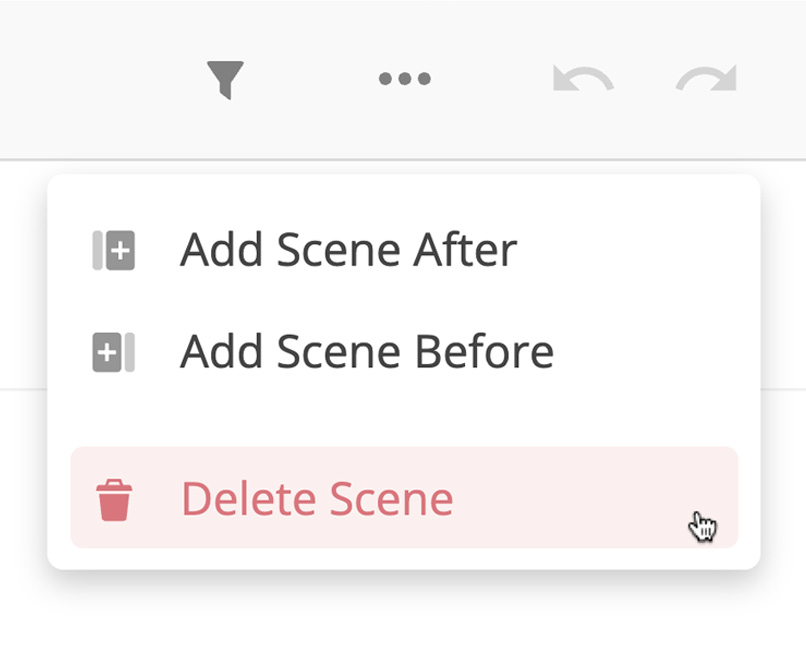
- Open the Actions Menu in the header, and choose Delete Scene.
💡 Note
You can also delete a scene in the Page Editor from the scenes dropdown menu.
Toggle Slideshow Visibility
Scenes are automatically added to the Slideshow when created. It's very easy, however, to remove and add them back again. Simply open a scene in the Edit Window and look for the Slideshow Toggle Button.
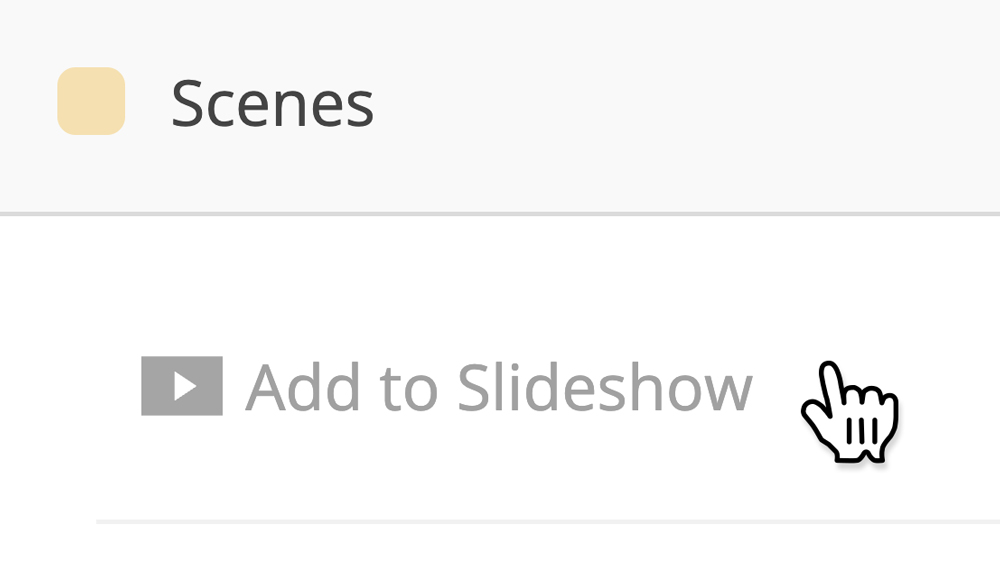
The two states are In Slideshow and Add to Slideshow. Set this accordingly.
💡 Note
This is the exact same way to add and remove Characters in the Slideshow.
Change Image Orientation
Scene images display in Landscape orientation by default. You may want to change this to Portrait (vertical) or Square, depending on the medium you're writing for.
- Click the open the Actions Menu in the header.
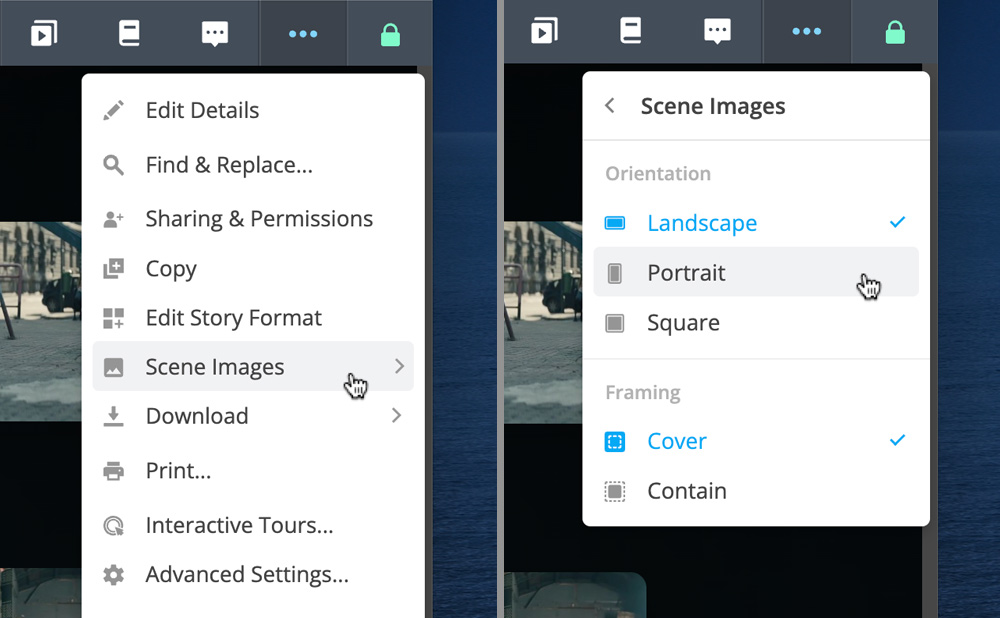
- Click Scene Images to open its submenu.
- Select the orientation you wish to use. You can also change how the image is framed. Experiment to find which setting works best for your images.